

Today, more people than ever are working home. Being productive is dependent on the kind of environment that you create as well.
One of the things to have is a desk that can serve as a work station and for storing necessary documents and other office supplies. While there are many kinds of desks you can get, the L-shaped desk tends to be popular. You might need space for it to work, but it can still work even in a small room.
Here, we are going to look at why L-desks are fantastic, basics of building you. You don’t have to be a pro to do this. Nowadays tons of machinery help us get a pro-job done, even in our home.
The other good thing is you don’t have to spend a lot of money. There are inexpensive items you can get from your home supply store.
Table of Contents
Why L-shape desks are popular

If you’re yet to make up your mind, let’s look at the advantages of getting an L-shape desk for your home office.
1. Good use of space:
These desks are fantastic to use in corners because they utilize the 90-degree angle that the L part of the desk also has. That allows for more efficient use of space you have in your room as compared to a standard desk. The other name for them is corner desks because that’s what they essentially are even though they are varying types.
2. More workspace:
Most times, you’ll find that you have more workspace as compared to other types of desks. The reason for that is that you have two surfaces to work on, and not just one.
Additionally, if you have adequate space, you can extend it as far as you like.
Those who work with more than one monitor or require a ton of space to get work done, for example, when looking at plans and drawings, then the L-desk is ideal.
3. Room for more:
Those who want to have as many accessories and machines as they want on the desktop, then the L-desk works. You don’t have to tuck away your printer, and you can have your tablet up even as you use the monitor.
Whatever you might need to get your work done efficiently, with this kind of desk, you can most certainly accommodate it.
To be more productive, you need to learn how to manage your time better.
3. Additional storage:
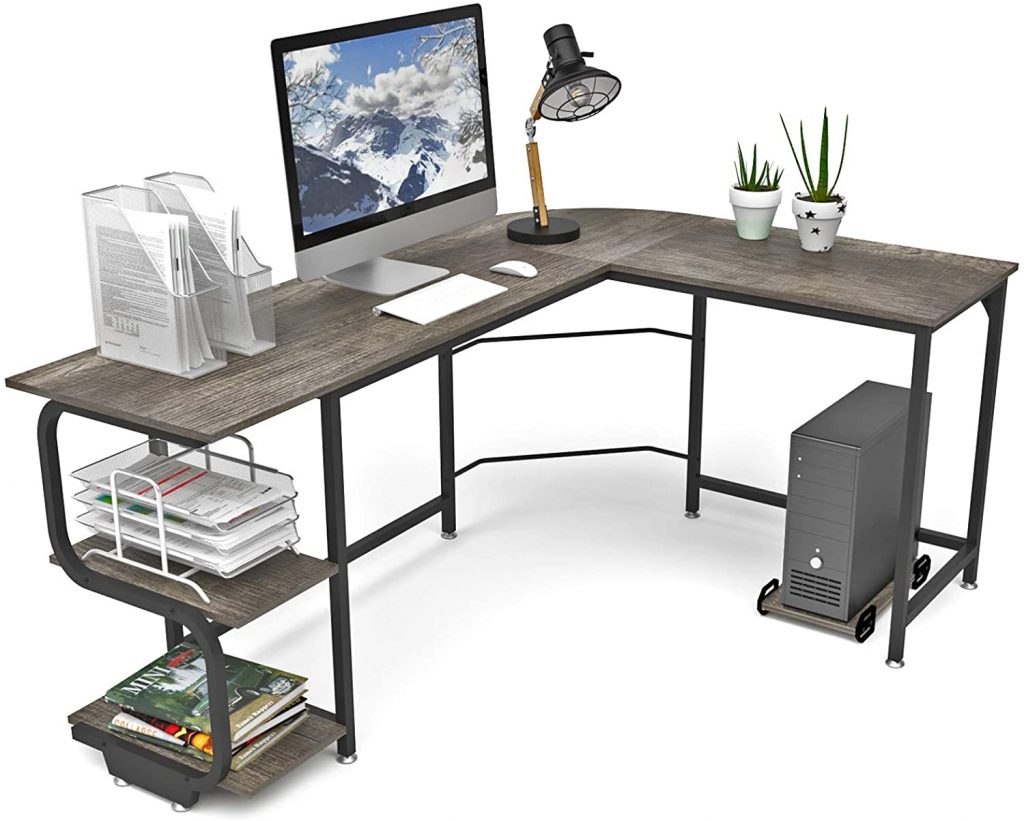
When you add the drawers, you have room even to hold more things. If you don’t want your office space cluttered, then drawers, shelves, or cabinets are the way to go.
Not everyone likes everything laid out on the desktop. Some merely prefer having a large desk to work from without clutter.
4. Can hold two:
Those with two people requiring to work in the home office, then an L-shape desk is good. They can typically hold more than one computer, allowing couples or families to work simultaneously.
Since you’ll each have your side of the L-desk, you’re able to focus on your work. However, those wanting a shared workspace should consider the size as you need two chairs that can fit in the space. well.
Basics of making an L-shape desk
Creating your L-shaped desk does not start with a shopping spree of tools, equipment, and lumber.
Far from that. You first have to look at the room to see if making the desk would be viable. The recommended space is 48 inches of space and above long one wall.
You want to be sure what you have can accommodate the shape.
If that’s the size you settle for, then when buying the top with whatever material you choose, ensure that it is 48 inches wide and 96 inches long. The thickness in inches should be ¾.
The depth of the desk tends to be anywhere between 22 and 24 inches.
With whatever dimensions you settle for, you ought to cut the top part of the L-desk from a single piece of wood. That way, you don’t have the difficult task of mounting and gluing two lumber pieces together.
After, your only work should you so wish is to have curved sides, which are typically preferred as they are ergonomic. You can use a route bit to then cut around the edges of the front part where the chair goes. When done, sand the edges to make them smooth. There are two kinds of L-shape desks.
There are those fixed the wall, and you make one that stands alone. If you’re making an office desk, then you’ll need space between 60 and 72 inches with 48-58 inches for the shorter side. If you’d like, you can get one that has equal lengths on each side, but that won’t quite qualify as an L-desk anymore.
Building an L-shaped desk
Let’s look at how you can go about building your desk with drawers. We won’t highlight the dimensions because there are varying needs when it comes to size.
However, we will look at the general aspect to give you an idea of what you’ll require. Once you’re confident, we suggest you find a free online plan for an L-shaped desk or make your own.
Then, you’ll have the confidence to know the sequence.
1. Get your materials

Before you start construction, you need your lumber. You can get the wood of your choice, but plywood works just as well. Ensure that you get good quality plywood; you want it to support the weight of everything you’ll put on it.
Once you have the lumber, using the dimensions and schematic plan you’ll have gotten, cut out the individual pieces of wood down to the pieces that make the drawers.
You want it so that when you start assembling things go smoothly as you won’t go back to the table or miter saw. Speaking of which, additional tools and equipment you’ll need are a drill machinery and drill bits, pocket hole jig, jigsaw, tape measure, carpentry pencil, and safety glasses and gloves.
2. Getting to work
As mentioned, you want to cut all the pieces at the same time.
Use the schematic and dimensions provided to achieve this. Once you have all the pieces, check for the place where you need to drill for screws.
It makes it easier to know where the screws go as you go about assembling the pieces. When it comes to the L-shaped desk, there are two options. You can have it mounted or get jambs for it.
3. Wall mount:
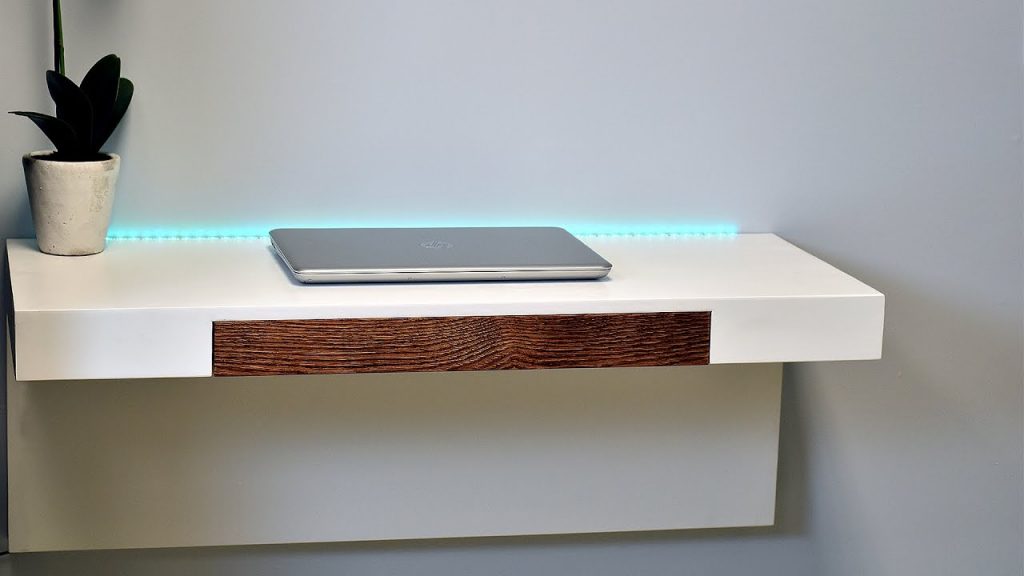
For this option, you can use wooden screw cleats to mount the desk on the wall. Measure and cut a wide poplar (or the wood you’re using) so that you can fit it on the longest side of the desk.
After, find where the wall studs are and screw the poplar to the wall on top of the board itself. Do the same thing for the other side of the desk.
Cut new poplar similar to the length of the cleats and drive the screw-head in flush on the top side of the cleats. Flush with the top as well. Now, take the poplar pieces you’ve made and drill holes through so they can serve as an attachment to the desktop you’ll put in place.
After, slide the desktop into place right over the cleats, ensuring that it is right against the wall. Once in place, screw the top on the drilled parts you’d already made.
You can then either use legs or jambs to support it.
4. Jambs:
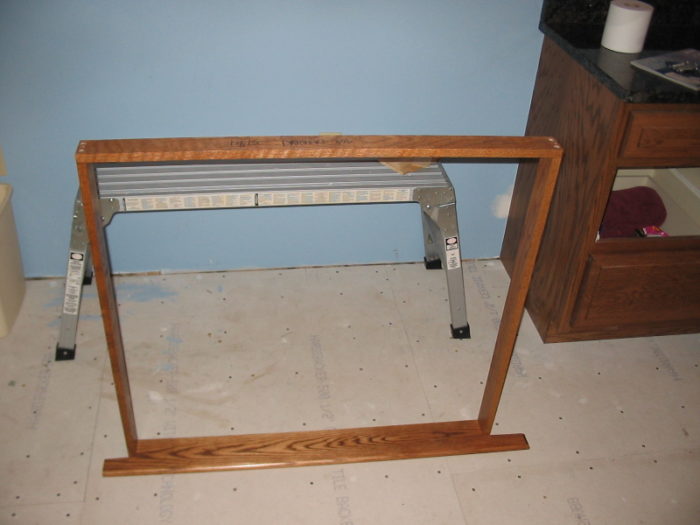
For a more traditional table, cut panels or jambs that are in proportion to the height of the desk you want. Take the panels together at a 90-degree angle.
That way they can act as supports for the four corners of the desk. From the poplar, cut screw cleats and attach them in flush at the top of the 90-degree panels.
Next, drill and then screw the jambs right under the desktop at each corner. Underneath, add a vertical panel along the back. You can then finish with customizing the widths of the panels as per your design.
Drawers:
Put the drawer pieces together using wood glue using a clamp to hold the pieces together until they dry. After, drill and put screws on each corner to make the drawers steady.
Attach drawer sliders that you then attach to either ides of the panels you’ve created to accommodate the drawers and the drawers too. Ensure that you get sliders that are the right length as the drawer too. Put your drawers in.
5. Finishing
After, you can do what you wish with the top. You can leave it as it is after sanding off any blemishes. There is also the alternative of adding varnish or painting it in line with your office’s theme.
Remember to add grommets to keep your desk organized. You want to put them closer to where your ports and power outlets are for a tidier desk.
Wrap up
There are tons of design ideas in the market, with Pinterest being a valuable resource. Check them out and where you can get the schematics. Otherwise, you can make the measurements to suit your space.