
If you have time on yocur hands, then a DIY project to keep you busy is perfect. It’s even better when you want to create something functional for your home. While you could get something store-bought, there is a pride that comes with making something from scratch.
It also tends to be a fraction of the price when you build it yourself.
Getting started can be the hard part, but with the number of resources online, once you’re done with the piece, no one will be able to tell that it’s your first project. Therefore, if you’re a bit hesitant, go for it. With the right guidance, you can get it done.
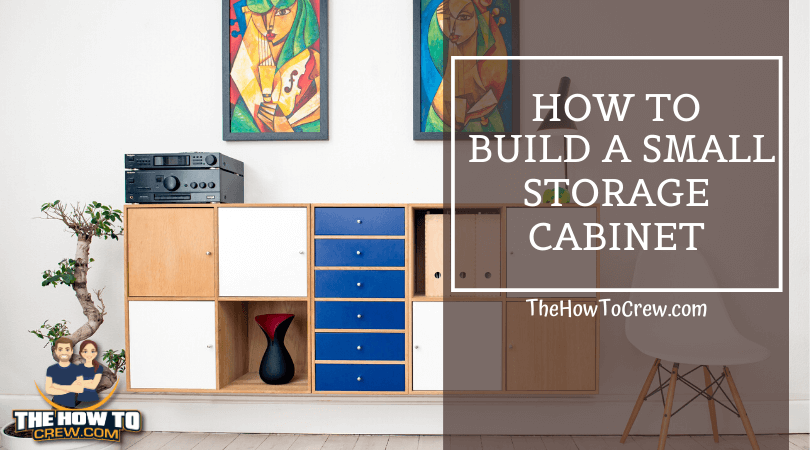
Here, we are going to look at how to go about building a small storage cabinet. Sometimes we have odds and ends that we don’t know where to put and are quite honestly making a room look cluttered.
That’s where storage cabinets come in. They make a place look more put together than it typically would. Those looking for extra storage but don’t want to dedicate an entire wall naturally gravitate towards something small they can make.
We have to acknowledge the near-endless designs available not only on the internet but also in our minds. You don’t have to be limited to something standard,mainly if you can introduce an aesthetically pleasing design concept to your storage cabinet.
Of course, the design you settle for will be based on your needs, but the point is not to limit yourself.
Before you head out to the store to purchase materials and equipment, consider taking a look online for designs and even materials you can use. Pinterest is one such resource that you can use to spark imagination without you.
Once you settle on something, you can look for the dimensions of the same on the internet.
You don’t want to come up with inches of wood to cut off the top of your head or even figure it out. That’s already been done for you. There are sites more than willing to give you the measurements required.
Before you start building, let’s look at an essential guide for beginners.
Table of Contents
Guide for beginners
Let’s now look at some essentials that you’ll need to bring your small storage cabinet to life. It’s helpful to know what you need before you settle down to building.
1. Have the right tools
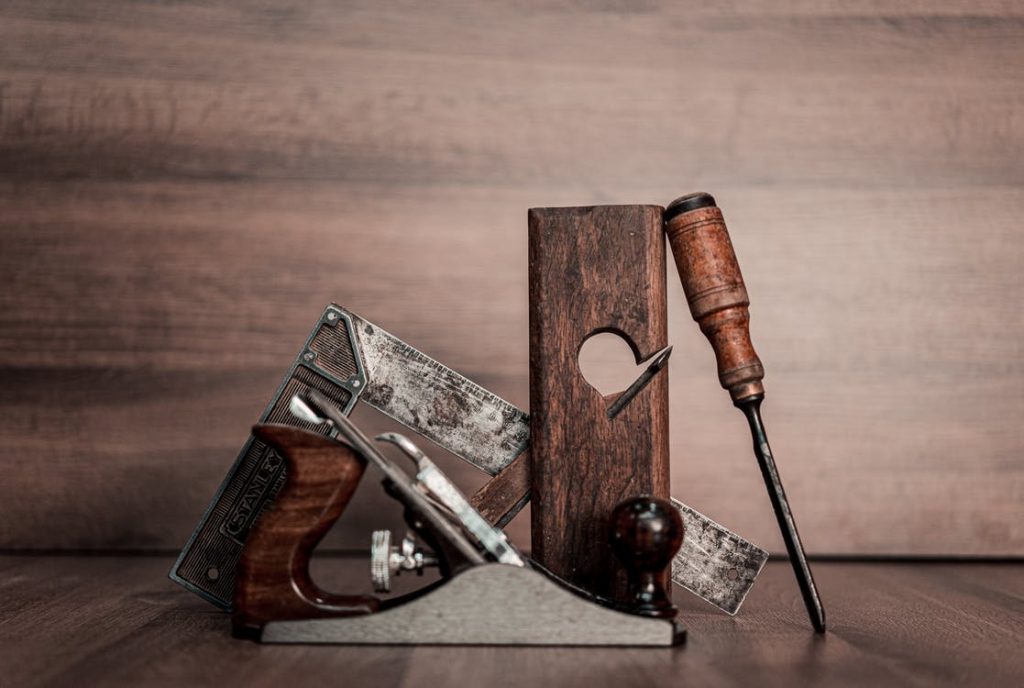
When creating cabinets, there are three distinct steps: cutting, assembling, and finishing. For each phase, there are various tools and equipment that you require.
Cutting wood is not possible without measuring tools- you need to know where to cut and where to drill. The standard measuring items are a tape measure, a ruler, and a bevel.
You’ll also need a table saw with a sharp blade, ensuring that the saw is well-tuned. Next, you’ll need a router that you’ll use for making grooves and shaping.
A drill is vital as it’s what you need to make holes, but also get one that doubles as a screwdriver. To keep the pieces in place or even do any gluing, you’ll need clamps for that. Lastly, for shaping and dimensioning, you need a sander.
There are different kinds; get the one that servers the scale of your operations.
2. Getting the plans

With the essential tools available, you can now enforce your plan. You can do this before or after getting the tools, but it’s an integral part of the process.
First, look at where you want the furniture to go, in this case, the small storage cabinet.
Take the necessary measurements. If you have adequate space, then you can settle for the standard cabinet dimensions. What you’ll need for the project to be a success are a schematic diagram detailing how the parts fit together and a cutting list.
With the cutting list, you’ll know how much lumber to get so that you don’t run out or have an excess.
Looking to get more garage space? Check out the Gladiator storage cabinet.
3. Buying the lumber
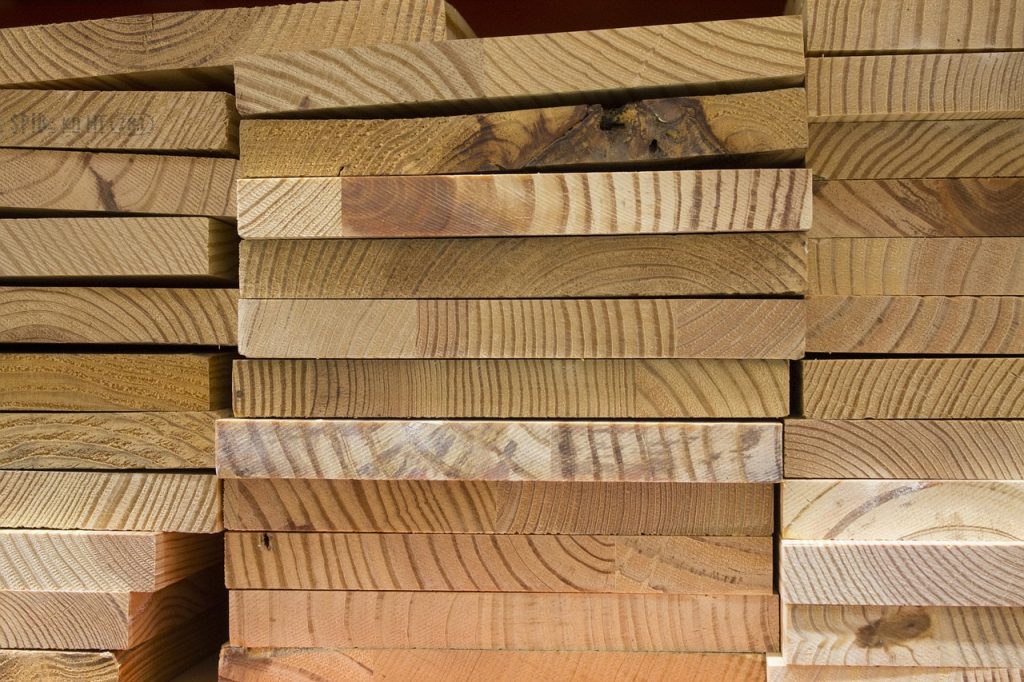
When getting started, it is preferred that you begin with domestic hardwoods or softwoods instead of going for the exotic hardwoods. The former is less expensive and generally more comfortable to work with, especially for a beginner.
The more expensive kind of woods tends to be harder to cut and assemble, which can lead to a frustrating experience, especially if you cut the wood wrong. The woods you get also need not to be of poor quality.
Where you can get select structural lumber, which is the highest grade of lumber, it has the least number of defects, and it is both strong and durable.
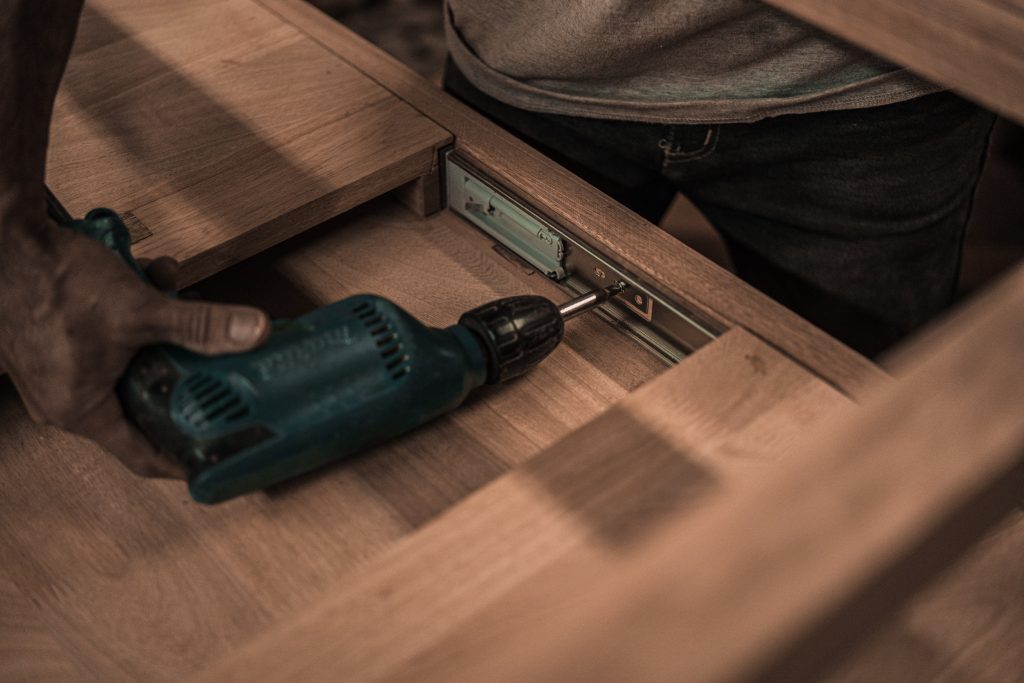
4. Assembling and finishing
Once you have the lumber, you can get to work, making the various components. The items you’ll need are screws and glue too. It’s essential also that you predrill holes for faster assembling.
When using the glue, use the clamps to keep the wood in place until it dries. The final step is sanding, where you can remove any blemishes, the glue included.
Building a small storage cabinet
Now, with the basics down, let’s look at the general steps of building it. We are going to look at how to build a basic two-door storage cabinet. Whatever you’ll be making, these instructions mostly cut across.
1. Cutting the wood
Getting started requires that you cut the wood you’ve bought. It could be plywood, alder, mahogany, red oak, or even maple. It depends on the type of wood that you like or is even within your price point.
Use the dimensions given to cut the cabinet tops, sides, bottom, the shelves, and then the cleats.
The equipment you’ll need is a table saw as it’s easier to use. If you’re worried about getting the cut straight, then consider getting a clamp to keep the wood in place as you cut it.
2. Drilling the holes

Using a portable drill guide, make holes into the shelf pins on the sides of the cabinet that will need screwing. You’ll need to make measurements on the wood using a pencil so that you drill at the exact hole. Getting it even a few millimeters wrong can affect how you put the cabinet together.
Don’t rush this part of the process. Double-check that you go the holes right.
3. Get the bottom fastened
Next, bore the stated number of pocket-screw holes in the bottom wood using a pocket-hole jig. After, take the same screws and drive them from the sidewalls of the cabinet to the base of the cabinet.
When you’re done, you’ll have a bottom and the two sides of the cabinet upright. You want to complete this part by cutting cleats that will fit between the cabinet sides.
Take countersunk screws and drive them through the side, and getting them on either end of the cleats. That way, it will make the cabinet extra sturdy.
4. Nailing the face frame
The face of the cabinet is the visible end of a cabinet where either the doors or drawers can get accessed. Thus, the face frame is the boards that form the rigid skeleton on the exposed side of the cabinet’s box.
Now, take the pieces, rip and crosscut them before gluing and nailing them to the case. Given that you’re joining delicate trim pieces for a small furniture trim, you should consider using a pneumatic pin nailer. That way, the holes that you made won’t be visible, leaving you with a smooth finish.
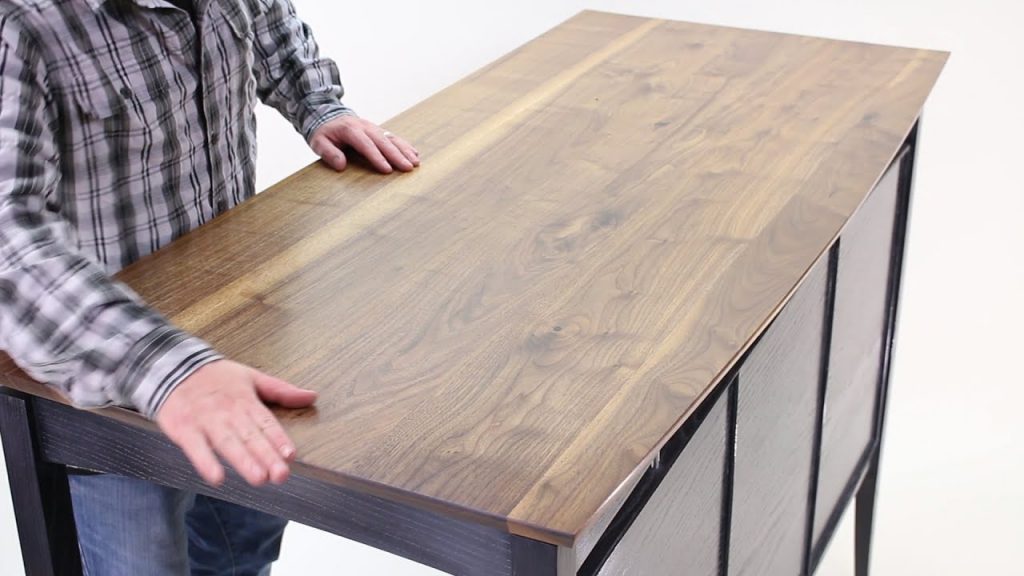
5. Attach the top
As we get close to the finish, the next step is getting the top of the cabinet in place. Use the same method to put the top panel in place.
If you’ve opted for plywood but want to put something more luxurious on top, you can do so and then drive the screws through to put them in place, but do so from the bottom through the cleats.
You don’t want visible screws on the top of the cabinet, so it remains as smooth as possible.
6. Get the doors on
After, take the doorframes and rip and crosscut them. Using the rabbeting and router bit, cut the panel rabbet. Do so on the inside edges of the frame itself.
Going to the end of each door rail, drill pocket-holes, which hold best with softer wood.
Then, drive the screws either made from course-thread or fine thread for soft and hardwood, respectively. To fasten them completely, you can use wood glue.
For the hinges, place a hinge cup in a hole, ensuring that the hinge edge is parallel to the stile edge. Mark where the mounting screws will go. Next, drill screw pilot holes to finish installing the hinge.
7. Do the finishes
This last step largely depends on what you’ve selected to make and your preferences. It could be applying varnish, painting, adding a layer of concrete of the like.
Whatever it is, this is perhaps the most rewarding part where you get to style and beautiful the final product. Don’t limit yourself on this part; you want something that will work well in your room too.
Wrap up
While it might feel scary, with the right guide, proper dimensions, and tools, you too can make fantastic furniture.